
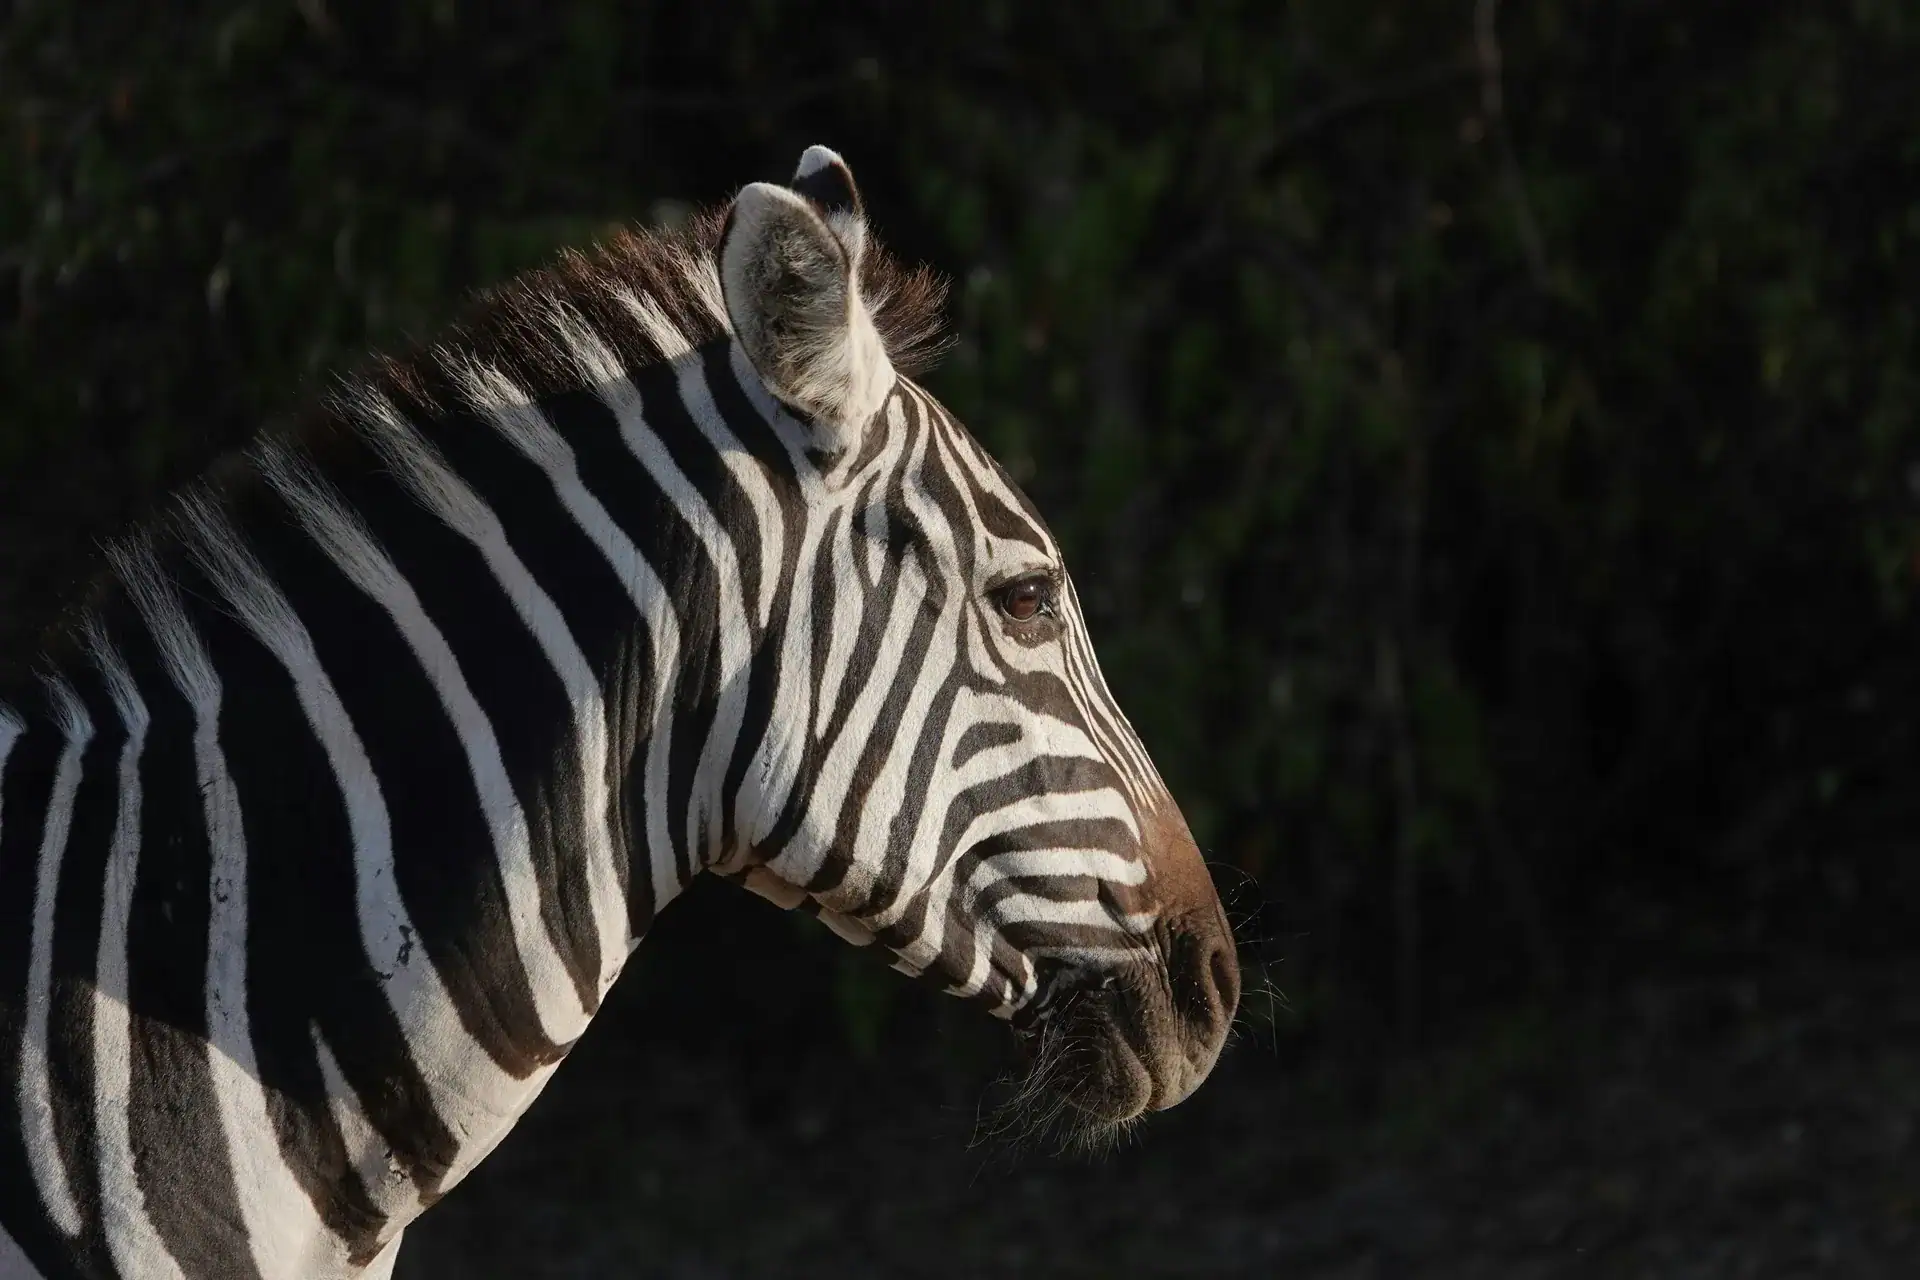
Maasai Mara photography
Maasai Mara photography combines wildlife, landscape and changing light from permitted viewing positions. Build time for observation into your private safari, use familiar equipment and let wildlife behaviour shape the pictures. Good photography works within viewing rules; a closer approach, blocked route or disturbed animal is never the price of a photograph.
A photographic safari is more rewarding when the programme gives you time to observe instead of rushing between subjects. Watch the animal, the light and the space around it before deciding on a picture. The Mara offers more than close portraits: a wider scene can show how wildlife belongs within the landscape.
Our safaris use dedicated vehicles and guiding for your travelling party. Describe your photography interests when the trip is planned so the route, equipment space and pace can reflect them. Park rules, access and the wildlife still determine what is possible on the day; a photography-focused itinerary does not promise a particular encounter.
Light and the rhythm of your photographic safari
Early morning and late afternoon can provide lower-angle light that gives animals and vegetation shape. Side light can reveal texture, while light behind a subject can emphasise an outline. Observe where the light falls before framing a photograph, rather than assume that the subject must always face the camera.
Low light requires attention to movement and steadiness. A scene may look attractive while the animal is moving too quickly for the exposure you have chosen. Review the result and adapt to the conditions rather than keep using settings selected earlier in brighter light.
Photography remains worthwhile outside the softer-light periods. Look for shape, pattern and behaviour, or a wider landscape where the light suits the scene. A resting animal partly in shade may require a different composition from a subject on open grass. The conditions should inform the picture instead of making the whole period seem unusable.
Keep the safari programme within the area’s operating hours. The Reserve’s evening requirements apply to photographers as they do to other visitors. An attractive sunset is not a reason to remain beyond a return deadline or convert a Reserve game drive into an unauthorised night outing.

Observation before the photograph
Spend a moment watching before raising the camera. Notice the subject’s posture, the direction it is facing and what is happening around it. That observation can help you frame an image with context instead of reacting only to the closest visible animal.
Leave room for behaviour to develop naturally. A resting animal, an interaction within a group or a change in position can be interesting without a dramatic hunt. Patient photography involves responding to what occurs, not pressing the guide to stimulate movement or recreate an earlier action.
Put the camera down between sequences. Direct observation gives you a broader view than a lens and helps you follow the guide’s explanation. It also makes the photographic safari enjoyable when distance, cover or light prevents the picture you expected.
The Big Five guide explains the species and habitat context for those animals. Use it to set realistic interests, with cheetah treated as a separate highlight. No photographic safari can guarantee every species, a particular pose or the same scene shown in a website photograph.
Composition that includes the landscape
A wildlife photograph can show both an animal and its surroundings. Leave space for a subject to look or move into, and consider the grass, trees or hills that help explain the setting. A wider composition may tell more about the encounter than a frame filled entirely by the animal.
Look around the edges of the picture as well as at the subject. A branch crossing a head, an awkward horizon or a distracting vehicle may change the image. Adjust your framing from the permitted position instead of asking for an unauthorised approach to remove an obstruction.
Use a close portrait when the available view suits it, but avoid making proximity the main objective of photography. A long lens, a wider scene or simply waiting for the subject to move naturally can each provide another option. The guide decides the vehicle’s lawful position and the space wildlife needs.
Landscape photographs need attention too. Tracks, vegetation and the arrangement of animals across a plain can provide the structure of a scene. Work with what the permitted route reveals rather than leave the vehicle or enter restricted ground to copy a composition seen elsewhere.
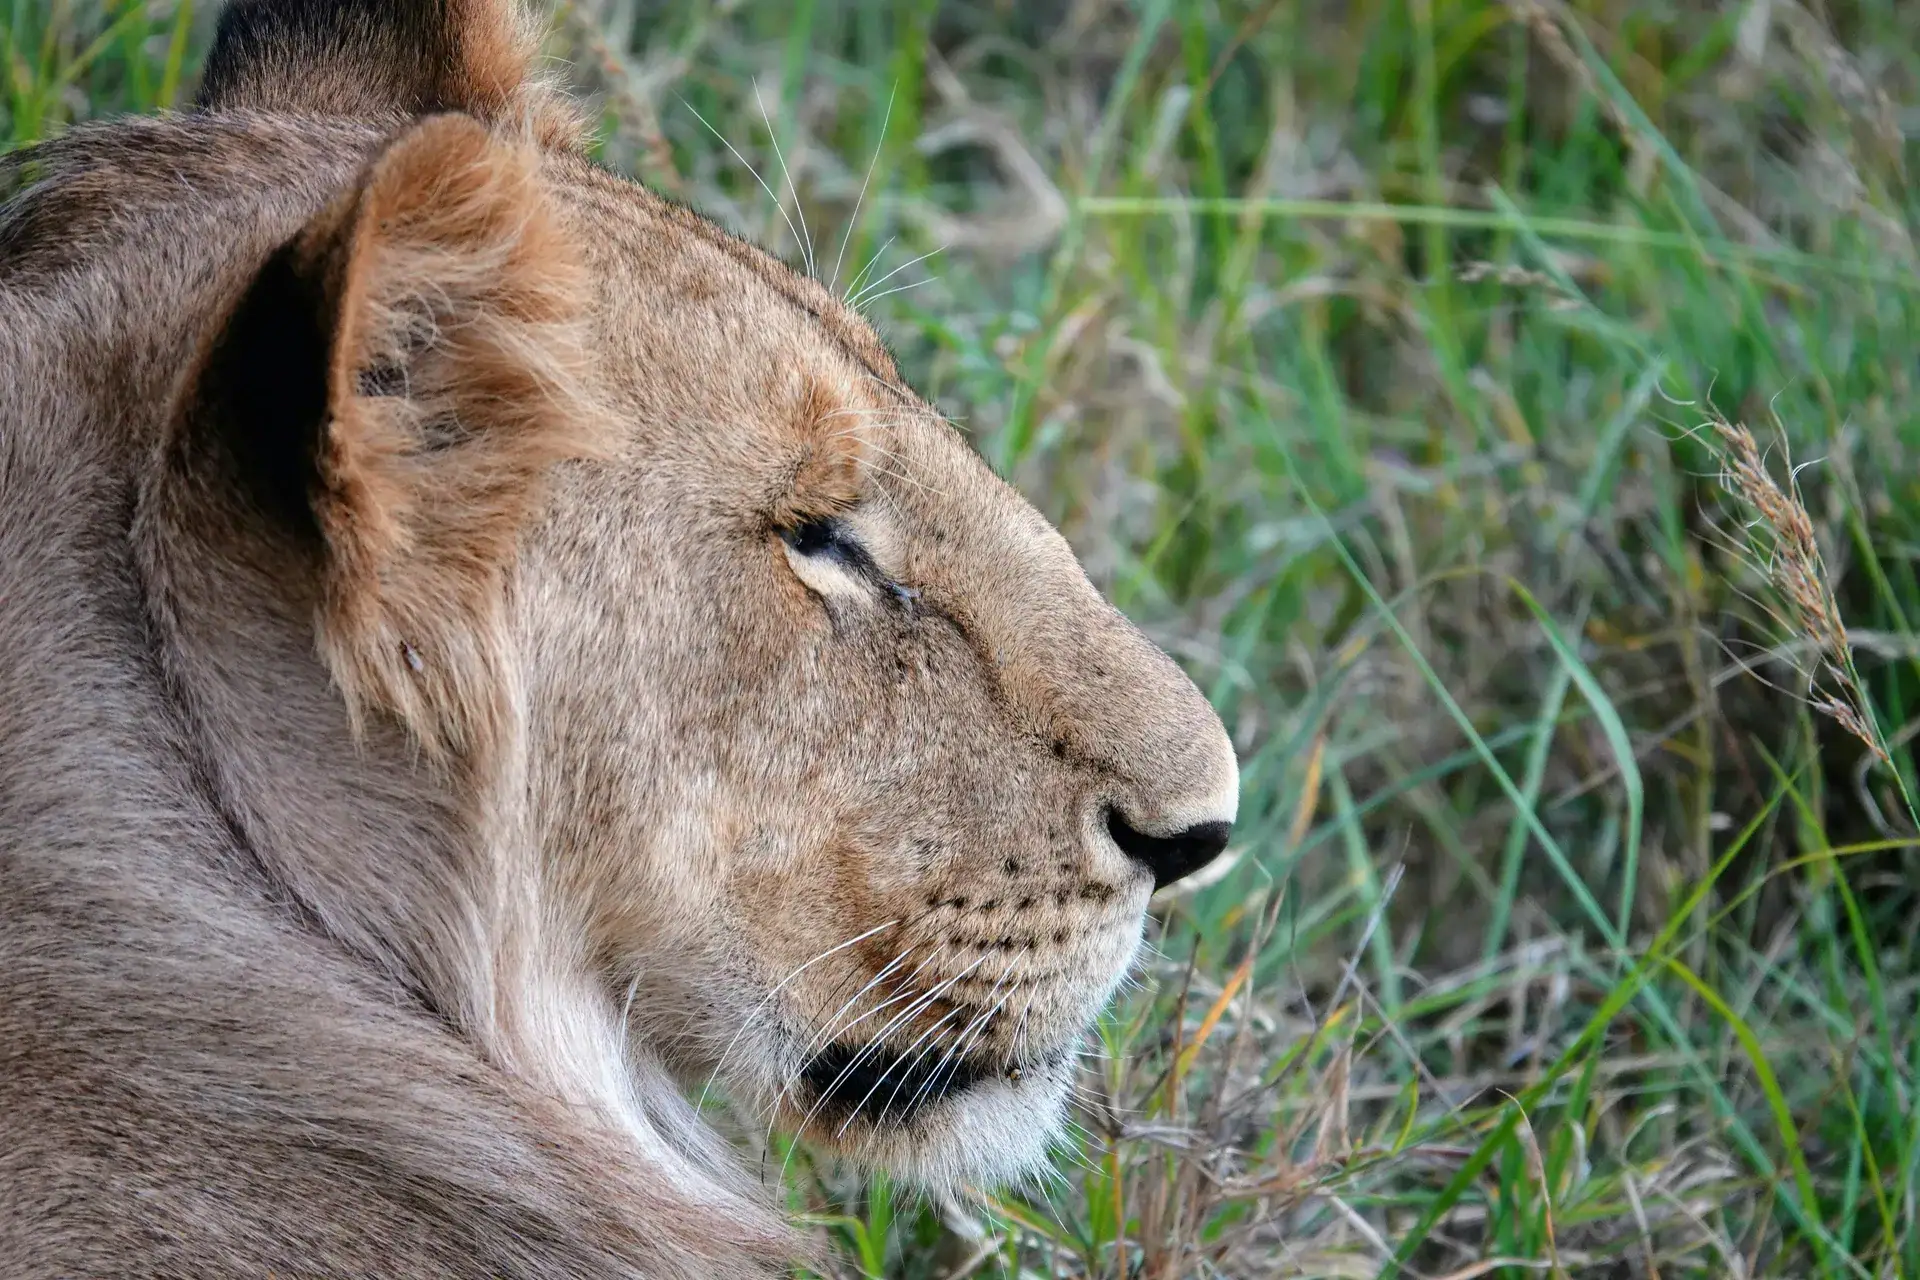
Camera controls for moving wildlife
Shutter speed affects how movement appears in a photograph. A faster exposure can help freeze an active subject, while a slower exposure can show motion or create unwanted blur. Choose for the animal’s movement and the image you want, then check the result rather than rely on one universal safari setting.
Exposure is a balance between shutter speed, aperture and ISO. In lower light, keeping enough shutter speed for movement may require a different aperture or ISO choice. Practise with your own camera before travelling so you understand those controls when a brief wildlife encounter arrives.
Focus deserves its own check. The camera may select foreground grass or a branch instead of the intended subject. Review focus on the animal and learn how your camera’s available focus modes behave. Familiar controls are more useful than a complicated setup first explored during a sighting.
Avoid copying precise settings from a photograph without its conditions. Light, distance, movement, lens and the effect sought all influence the result. Photography guidance should help you make decisions for the scene in front of you, with the camera responding to that scene rather than following an inflexible recipe.
Choosing manageable photography equipment
Bring equipment that covers the subjects you enjoy and that you can use confidently. A longer lens can help with distant wildlife, while a wider view suits landscapes and environmental images. A flexible setup often serves a varied photographic safari better than a bag so complicated that changing gear occupies each sighting.
Practise carrying and supporting the camera before the trip. The equipment needs to work from the actual vehicle seat and viewing space. Keep straps and bags organised, avoid blocking another passenger and put equipment away when the guide needs the party’s attention.
Pack spare power, storage and a suitable cleaning kit with your main equipment. Keep the day’s useful items accessible and protect gear during transfers. A familiar backup plan is valuable when something runs out or fails; it need not involve carrying every possible accessory into the vehicle.
Equipment does not replace a well-planned programme. Time to observe, suitable permitted routes and a guide who understands your interests all matter. Decide what you want from photography first, then choose the practical kit and itinerary that support that purpose.

Private vehicles and photography space
Our private safari vehicles and guiding are dedicated to the travelling party. That allows the organiser to account for photography interests alongside everyone’s comfort. The actual vehicle layout, seating, luggage space and any equipment support should be specified for the booking rather than assumed from a generic safari description.
Keep the viewing side clear and share it considerately. A private party can agree how to balance positions, but sudden movement may disturb another person’s observation or make camera support less steady. Organise bags before departure and keep loose equipment out of the shared space.
Let the guide select the route and stopping position within the area’s rules. Explain the kind of light or framing you are interested in without directing the vehicle into prohibited ground. A useful conversation between guide and photographer respects both the desired picture and the limits of the outing.
The game-drive guide covers the wider driving programme. Arrival transfers, dedicated wildlife outings and separately arranged activities should each be described clearly. A drive through habitat on the way to camp is not automatically a photography session with time to remain at every subject.
Wildlife space and Reserve viewing rules
In the Reserve, vehicles must stay at least 25 metres from animals, with no more than 5 vehicles around lion, leopard, cheetah and rhino sightings. Waiting vehicles remain 100 metres away. These limits apply to photography, including when a subject is partly concealed or a longer lens would be useful.
Off-road access also has defined limits. The High Use and Mara River zones prohibit it. The Low Use Zone has a specific exception for viewing big cats already seen from the road, followed by return to the road; it is not a general photography permission, and rhino is not part of that exception.
Stay in the vehicle at wildlife sightings. The visitor code permits alighting at picnic spots or other designated areas, remaining within 10 metres of the vehicle, and prohibits it at or around migration crossings. A lower camera angle does not justify leaving the vehicle beside an animal.
Follow the guide’s decision to move on, including at crowded sightings. A private photographic safari does not give your party unlimited time or priority over others. Responsible photography leaves animals room to continue their behaviour and other visitors room to observe.
Migration photography without crossing promises
The migration provides a wider seasonal context, but a river crossing cannot be scheduled for a photographic safari. Animals determine when and whether they move into the water, and the day’s permitted viewing position may not offer the picture you imagined. Plan for observation, with crossings treated as uncertain encounters.
Keep river approaches and animal routes clear. Do not press the guide to block a crossing point, drive through a herd or chase movement for a sequence of photographs. The wildlife’s ability to continue moving matters more than securing a front position.
Look for pictures beyond the water. Herds within the landscape, animals resting or grazing and the relationship between vegetation and movement can give the migration story context. A photographic safari is not unsuccessful simply because no crossing occurs during the visit.
Use the Great Migration overview and best-time guide to understand the wider pattern. They support seasonal planning rather than provide a current herd position or a guarantee for an individual day’s photography.
Bird photography and identification records
Bird photography can be approached as both observation and a visual record. Notice the bird’s shape, habitat and behaviour before concentrating on a close frame. A picture that shows those details may be useful even when it is not the polished portrait you hoped to make.
Keep the original file and a note of the encounter for later identification. Do not let a heavily edited or cropped image become the only record of an uncertain bird. The guide can review the wider context alongside what is visible in the photograph.
Avoid baiting, playback or disturbance around nests and roosts. A bird should not be made to move, turn or approach for photography. Follow the guide’s assessment and accept distance or cover as part of an encounter with wildlife.
The bird-watching guide explains habitat-focused planning and identification. A stronger birding interest should be reflected in guiding and time within the itinerary, rather than added as a demand that every ordinary wildlife outing produce a particular bird list.
Night and balloon photography
A balloon flight offers an aerial viewpoint where landscape patterns and changing light can be more important than close animal portraits. Keep equipment manageable within the flight provider’s instructions, give the crew’s briefing priority and secure or put away the camera whenever directed.
The balloon-safari guide covers wind-dependent routes, eligibility and the morning’s arrangements. The flight cannot be steered to deliver a selected wildlife picture, and a private safari vehicle does not automatically mean a private balloon basket.
An authorised night game drive uses its own permitted lighting and viewing methods outside the National Reserve. Photography must work within those arrangements; do not introduce flash or a separate light without the provider’s permission. Some encounters are better observed directly than photographed.
Choose these experiences for their own perspectives instead of treating them as guaranteed photography locations. Each has different equipment, access and operating limits. The organiser should include the experience accurately in the programme, with the provider’s briefing controlling what happens during it.
Photographs of people and cultural visits
Obtain permission before photographing people or their property. A cultural-tour payment does not automatically provide consent from every person present. Let the local guide help with communication where needed and accept a refusal without pressure.
Agree any expected photographic payment before taking the picture. Keep that arrangement separate from the visit charge and optional purchases. The purpose of a cultural visit is a host-led exchange; a continuous photo session can prevent the conversations the programme is meant to offer.
Describe proposed public or commercial use clearly when relevant. A person may have different views about a personal travel photograph and an image used in promotion. Do not use a brief village visit to assemble a commercial picture library without the appropriate agreement.
The cultural-tour guide explains host involvement, community payments and private-home boundaries. A photographic safari should respect those arrangements just as carefully as wildlife-viewing rules, leaving people control over their participation and images.
Drone permissions and specialist filming
Bringing a drone into Kenya requires prior approval from the Kenya Civil Aviation Authority. Import approval and permission to operate are separate matters. A small recreational drone should not be treated as ordinary camera equipment that can simply be unpacked and flown during a safari.
Use the KCAA RPAS operations portal for the authority’s application process and establish the permissions needed for the proposed operation before travel. Aviation approval also does not replace the wildlife-area manager’s requirements for the exact location and activity.
Do not assume that a Reserve ticket, a camp booking or a guide’s informal agreement authorises a flight. Specialist filming and aerial work need advance coordination with the relevant authority and manager. Keep ordinary ground-based photography in the safari plan unless the additional activity is expressly approved.
Avoid relying on old fee amounts, height limits or application timelines copied from a travel article. The applicable permission and terms need to come from the authority for the proposed operation. This guide does not promise that a drone flight or filming request can be accommodated within a private safari.
Files, review and a useful photography record
Make a simple routine for reviewing and preserving the day’s photographs. Keep usable storage available, retain original files and make a backup when your equipment allows. Review a selection for focus and exposure so you can learn from the result before the next outing.
Take notes that distinguish what you observed from what you hoped to see. A location description, species identification and behaviour can add context to a picture. If an identification is uncertain, retain that uncertainty rather than attach a definite name to an ambiguous frame.
Edit photographs to present them clearly without misrepresenting the encounter. Avoid implying a proximity, behaviour or location that the scene did not show. The photographic safari is a record of actual observation, with cover, distance and weather forming part of the experience.
Allow time to enjoy the visit beyond making files. Put the camera aside for a guide’s explanation, a quiet observation or a wider view of the landscape. Photography can deepen attention to the Mara, while the experience itself remains valuable even when a particular picture cannot be made.
Six decisions before you confirm your photography
Step 1
Describe your photography interests and your party’s preferred pace.
Step 2
Select permitted viewing areas and suitable accommodation.
Step 3
Specify the private vehicle layout and equipment space.
Step 4
Practise familiar camera controls and pack manageable equipment.
Step 5
Keep wildlife space and viewing rules ahead of the picture.
Step 6
Arrange any specialist filming or drone permissions before travel.
Plan the rest of your Maasai Mara stay
- Maasai Mara activities – Compare the experiences that fit your itinerary.
- Game drives – Plan private wildlife outings from a safari vehicle.
- Bird watching – Make time for the wider wildlife of the Mara.
- Where to stay – Match your accommodation to access and activity arrangements.
- Safari costs – Check the current price basis and compare inclusions.
Plan your private Maasai Mara safari
Send your travel dates, party size, accommodation preferences and the experiences you would like to include. MaasaiMara.ke quotes and books private safaris through authorised tour operator partners. We will check the proposed arrangements and explain what can be included in your itinerary.
